

How To Replace Car Window Molding
How To Reattach Car Door Molding Trim With 3M Tape
A photo illustrated guide to reattaching plastic automotive door molding or body trim with 3M double sided record.
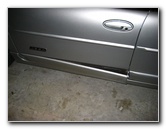
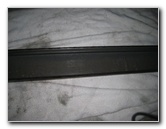
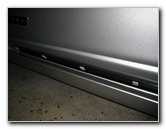
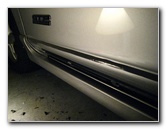
Molding Hanging Off
GM '01 Pontiac G Prix
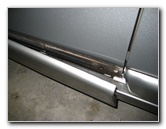
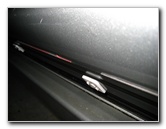
Quondam Double Sided Tape
It seems that the plastic clips or rivets behind the panel had broken and the double sided tape had lost its adhesive ability.
I used a piece of silverish duct record, which conveniently matches my car's pigment color, to concord up the panel for the trip to Advance Auto Parts to buy some 3M Super Stiff Molding Tape.
In lodge for the new 3M double sided tape to securely hold up the door molding, I needed to remove the old record and thoroughly clean all the surfaces.
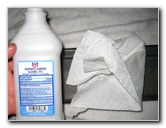
I generously sprayed "Goo Gone" agglutinative remover to make the old tape easier to scrape off from the car and the trim.
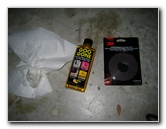
Goo Gone

3M Super Potent Tape
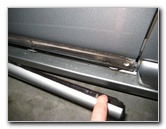
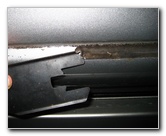
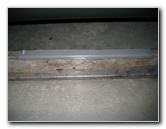
Underneath, I could see the metal bar that used to be securely attached with plastic clips or rivets to the body of the car and glued to the door molding.
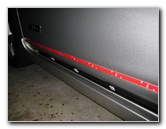
At that place was likewise a long strip of old double sided tape along the entire length of the top surface area where the molding piece meets with the car door.
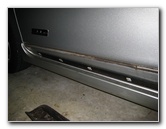
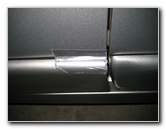
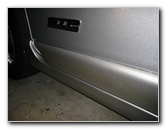
Door Moulding Removed
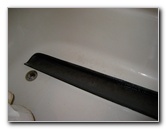
Cleaning Trim In Bathtub
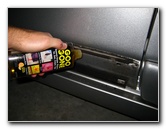
Spray On Goo Gone
And then I sprayed the sometime double sided record on the car door with a generous amount of Goo Gone and let it sit down for a few minutes to give it some time to work.
Old Tape Removed
Clean With Booze
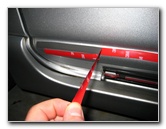
Scraping Off Old Tape
Whatsoever other flat and relatively ho-hum tool such equally a paint or ice scraper would also work well.
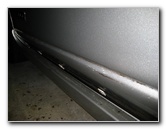
Endeavour to not scratch the paint above the line where the door molding attaches to the door panel.
To end the surface preparation, I wiped everything down with alcohol and immune them to air dry.
Double Sided Tape Off
Car Door Paint Cleaned
Metal Piece Taped
So I pushed on the metal bar and held information technology for 30 seconds to ensure a good bond.
Apply 3M Record
Remove Tape Backing
It can be difficult to remove the ruby plastic backing strip on the 3M tape, but you just have to pick at it with your fingertips.
I also practical some double sided tape to the very lesser inside face up of the vinyl door molding.
Once all of the tape was in identify with the backing strips removed, I carefully lined upward the door molding and pushed information technology into place.
I held it there for about xxx seconds applying fifty-fifty pressure to ensure that information technology sticks well and forms a permanent bond.
Be sure to not press too hard in whatsoever one small-scale spot as yous may crease, crack, or break the soft vinyl panel.
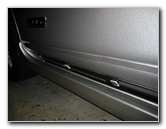
Ready For Mounting
Extra Tape On Molding
Push On & Hold Trim
For more, cheque out all of my Pontiac Grand Prix DIY Repair & Maintenance Guides .
Source: https://www.paulstravelpictures.com/How-To-Reattach-Car-Door-Molding-Trim/index.html
Posted by: salazarequady72.blogspot.com
0 Response to "How To Replace Car Window Molding"
Post a Comment